Friday, April 29, 2016

Publishing Research Books


Today I am going to share some of our finished research projects that my students created.  If you want to know how we got to this point, check out these blog posts.  The first post tells how we conducted our research.

This post shares how we took our research and wrote our rough drafts.  Each child wrote his/her own paper!!


We focused on only one paragraph each day.  The class wrote the topic sentence together, then they each wrote their own details.  After each child wrote out their rough draft, my intern or I would review their work and conference with them.  We discussed their errors, made corrections, and added/deleted details as needed.  Then, each student took their "sloppy copy" with the corrections and rewrote it.  They drew a picture that went with their paragraph.  As we were working on our projects, I had several kids ask if they could publish using Book Creator.  Since I am at a tech 1:1 school, each child is assigned his/her own iPad.  Since using the app Book Creator was motivating to them, I agreed.  Here are a few screenshots of some of my students' books.  I have a wide range of abilities in my class.  This first example is from a student who used sentence frames on his hard copy, but when he started typing his work, he added more (and better) details to his writing all by himself!


As you can see, by the end of the project he tired out and didn't add a final picture.  Overall, I was very impressed with his work.


This is a project by one of middle level students.  She added more details in both her drawings and writing.  She even added a background color and changed the font.


This is another project from a middle level student.


I love it when my students surprise and impress me.  I love their finished projects.  I also love that they were so proud of their work that they asked to present their books to their classmates.  (My students do not enjoy sharing their work.)  We showed each book on the SmartBoard so everyone could see each book.  The kids were so happy with their work!


Share:

Tuesday, April 26, 2016

Geometry Collages


As we wrapped up out unit on shapes, the students made collages.  Students had to name all of the shapes they used.  They had to make something that is recognizable, and used both organic and geometric shapes. Here's a few examples of their work.

 Tire Swing


 Fish eating a lure


 Dragonfly


 Space


Fish swimming at the bottom of ocean


I always love their creative ideas and what they see in shapes.

Share:

Saturday, April 23, 2016

Earth Day Art


In honor of Earth Day, we did a super easy and fun art project.  The hardest part of the project was finding a container the size of our paper.  First, draw a circle on white paper.


Add a couple of dots of liquid paint.  We did 3 dots of green and 3 dots of blue.  I had the students point to where they wanted the paint to land.


Add a handful of marbles, and shake, shake, shake.


Shake some more.  Keep shaking and rolling the marbles until you have the Earth covered in paint.


 When you like the results, pull out the paper and let it dry.  After it's dry, cut out the circle.


Here's our finished projects.  So easy and the kids loved them!


Share:

Tuesday, April 12, 2016

Geometry Anchor Charts


I LOVE anchor charts!  It's becoming quite the obsession in my classroom.  In fact, I'm running out of room to display my students' learning.  I love anchor charts because my students help me make them.  I have my students think through the anchor charts to see what we need to add to the chart to make them worthwhile.  I also teach my students to use the anchor charts when they are stuck on a problem.

We begin with a quick review of 3-d shapes.  I give my students a blank worksheet that matches the above chart, but I don't have anything filled in the chart at the beginning of the lesson.  Students work in pairs and each pair has the same shapes as above.  (To help my students, all of the same shapes are the same color i.e. all cubes were black.)  After students have an opportunity to explore their shapes with a partner and fill in their chart, we come back as a class and fill out the class anchor chart.  Students are allowed to correct their chart as we go and we discuss why their answers were correct/incorrect.


When I start my geometry unit, I make a basic chart for vocabulary.  We add a hand/arm movement for each term.  Here are a few examples.  Point, is a fist.  Ray are arms out to the side.  One hand is a fist (point) and the other hand is out straight (arrow).  Line is arms straight out to either side with hands out straight.    Parallel lines are arms straight out in front (like train tracks).


Then we move on to Polygons.  My students always have a difficult time with this, but I try to build as many connections as I can during our lesson.  I relate tri- to tricycle, octa- to octopus, etc.  We discuss the prefixes are important and tell us exactly what the shape is.


Then we dive deeper into triangles.  We make an anchor chart together.  Then, I give the kids pipe cleaners and they create their own anchor chart.    Check out the two examples below.  I was super impressed with my kids' work especially since most of my class also have fine motor difficulties.


Then we dive deeper into quadrilaterals.  

When I introduce quadrilaterals, I have this entire chart filled out except for the example column.  Students are given a chart exactly like this one and a stack of shapes.  They work together in pairs to find as many shapes as possible to fill in the example column.  After they finish, we come together as a class and discuss it.

After my kids have practiced identifying shapes we end with a huge art project.  We use the shapes to create a collage.  Students are required to use the shapes to make something that can be identified, realistic art.  Then they have to label or point and name the shapes that they used.  To stretch my higher students, they have to give me multiple names for the shapes they use.  

Check back later on this week to see our projects.

I would love to see some of the amazing anchor charts you use in your classroom.  Please post them on my FB page.  I love finding new ideas for my students.


Share:

Sunday, April 10, 2016

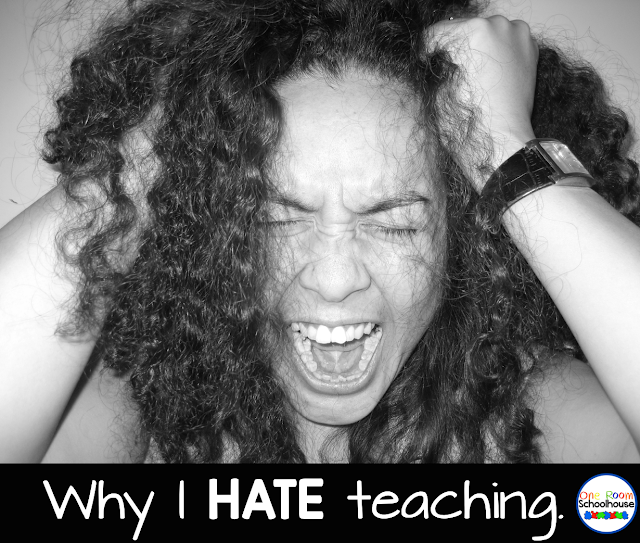
Why I HATE Teaching!

Why I HATE teaching


1.  I HATE that kids come to school dirty because they have no one at home to give them a bath.

2.  I HATE that kids come to school hungry because they have no one to feed them.

3.  I HATE that kids know every 4 letter word on the planet, except love.

4.  I HATE that kids come to school to be loved because they aren't loved at home.

5.  I HATE that kids come to school and have never had a book read to them.

6.  I HATE that kids know what abuse is.

7.  I  HATE that kids know what being in state custody means.

8.  I HATE that kids know more about street gangs, drugs, and guns than they do about being a kid.

9.  I HATE that kids raise themselves more than parents do.

10.  I HATE that I only have my kids for 180 days.

11.  I HATE there's only 180 days to hug them and show them how special they are.

12.  I HATE that they will never know how much they mean to me.

13.  I HATE that they will never know how special they are.

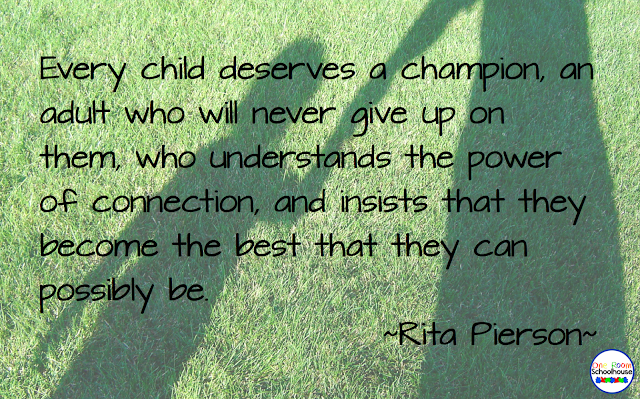
So, when you HATE teaching, remember YOU are the reason many kids come to school each and every day.

Why I HATE teaching


Share:

Friday, April 8, 2016

Research Writing for Special Education Students


So, we finished up our research using our new KWL chart.    The kids took lots of notes.


After we finished up our notes, we made sentences with the facts that we learned.


We review the notes that we made and decided on a topic sentence.


Then, the students copied the topic sentence and added their own details.  As they needed help with spelling, we created a word box on the board for them.

Here are some rough drafts before we discussed them.

An otter is built for swimming.  They have long tails.  They are very mean.  They are fast.  They have webbed feet.  They have sharp teeth.  They are brown. They are special.  They are intelligent.

An otter is built for swimming.  They are great swimmers.  They have sharp teeth.  They are webbed feet.  They are brown.  They have a strong tail.


An otter is built for swimming.  Their tail is very powerful.  It helps them to steer in water.  Otters have webbed feet which helps them swim.  Their fur is water proof.  That way they can swim faster.


For my lower students,  we decided which sentences went together and which sentences did not belong.  We put the sentences in an order that made sense. 


These students copied the topic sentence then we added the rest of the sentences that belonged in the paragraph.


All paragraphs were reviewed with the students.  We talked about what sentences that didn't belong. We also corrected spelling.  Students then wrote a final copy.  When we finish with our other 2 paragraphs, students will put it all into Book Creator to publish their work.


Share:
© One Room Schoolhouse | All rights reserved.
Blog Layout Created by pipdig